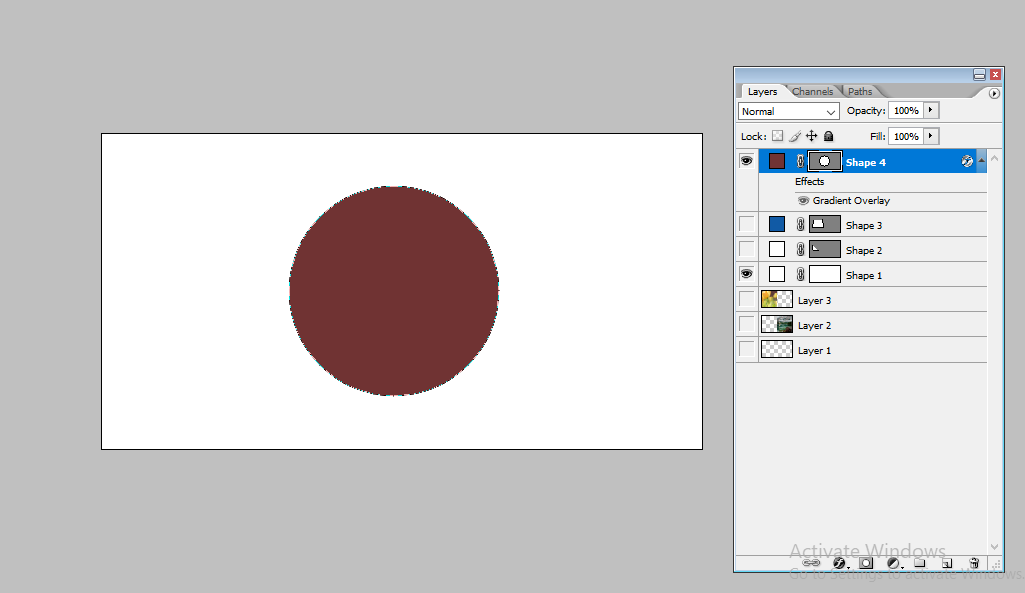
Photoshop stands out as a versatile graphic editing software, delivering advantages that span from meticulous photo editing and graphic design to the creation of digital art and efficient batch processing. Its advanced features, filters, and seamless integration with other Adobe tools render it an essential tool for professionals. It provides a platform that fosters creativity, design, and the pursuit of visual perfection.
What is the benefit of adding three colors to a shape in Photoshop CS4 ?
Adding three colors to a shape in Photoshop enhances visual appeal, depth, and versatility. It creates interest, especially in graphic and web design. The three-color approach adds depth by simulating highlights and shadows, contributing to a realistic appearance. This technique also guides focus, emphasizing key elements. For branding, it reinforces identity. In artistic contexts, it broadens the palette, fostering creativity. The selection of three colors enables the creation of harmonious color schemes, crucial for a balanced and visually pleasing design. Overall, it’s a powerful tool for creating engaging and impactful visuals.
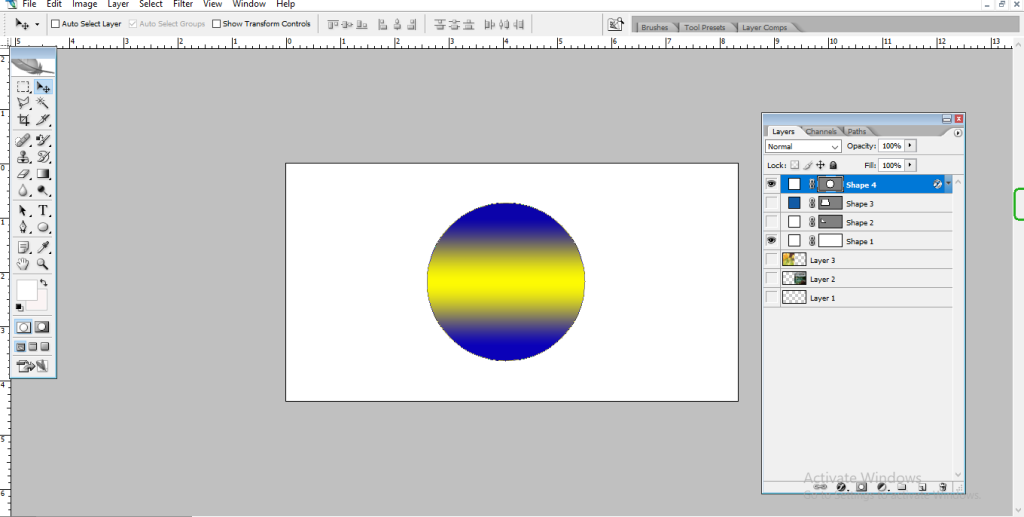
Creating a three-color fill inside a round shape in Adobe Photoshop CS2 involves combining techniques like the Ellipse Tool, Layer Masks, and Gradients. Here’s a step-by-step guide:
1. Create the Round Shape:

- Open Adobe Photoshop CS2 and create a new document with your desired size and background color.
- Select the Ellipse Tool from the toolbar.
- Hold down the Shift key while clicking and dragging on the canvas to create a perfect circle. Adjust the size and position as needed.
2. Create Layer Masks:
- Right-click the layer containing the circle and choose Duplicate Layer. This creates a copy of the circle layer.
- Rename the original layer, for example, “Circle Base.” Rename the duplicate layer, for example, “Mask 1.”
- Select the “Mask 1” layer and click the Add Layer Mask button at the bottom of the Layers panel (a square with a circle inside). This creates a black and white mask where black hides the layer and white reveals it.
3. Create the First Color Fill:
- Select the Brush Tool and choose a color for your first fill.
- Paint inside the circle on the “Mask 1” layer. As you paint with white, the circle will be revealed, and as you paint with black, it will be hidden.
- You can use different brush sizes and shapes to create variations in the edge of the first color fill.
4. Repeat for Additional Colors:
- Follow steps 2 and 3 to create additional layer masks and paint with different colors for your second and third fills. You can name the layers “Mask 2” and “Mask 3” for clarity.
- Remember to paint on the respective mask layers to reveal or hide the desired color areas within the circle.
5. Refine the Fills (Optional):
- Use the Gradient Tool on the mask layers to create smooth transitions between the colors.
- Experiment with different gradient styles and blend modes to achieve your desired effect.
6. Adjust Opacity and Blending (Optional):
- You can adjust the opacity of each layer to blend the colors further.
- Try changing the blending mode of the layers to experiment with how the colors interact with each other.

Here are some additional tips:
- Use the Eyedropper Tool to sample colors from your image or other sources for a cohesive look.
- Feather the edges of the brush strokes for a softer appearance.
- Use layer groups to organize your layers and keep your project tidy.
By following these steps and using your creativity, you can create unique and interesting three-color fills inside round shapes in Adobe Photoshop CS2.
Here’s an example of a three-color fill inside a round shape achieved using the above technique:
I hope this helps! Feel free to ask if you have any questions or need further guidance.
Photoshop me round shape ke ander three colour fill kaise kare in hindi
Digital Marketing Manager at Cotocus
This article explains the process of creating a three-color fill inside a round shape in Photoshop CS4 in a very simple and clear way. I liked how each step is explained slowly, making it easy to follow even for beginners. The method shared here is practical and useful for basic design work. It helped me understand shapes and color fills better and gave me confidence to try it myself.