
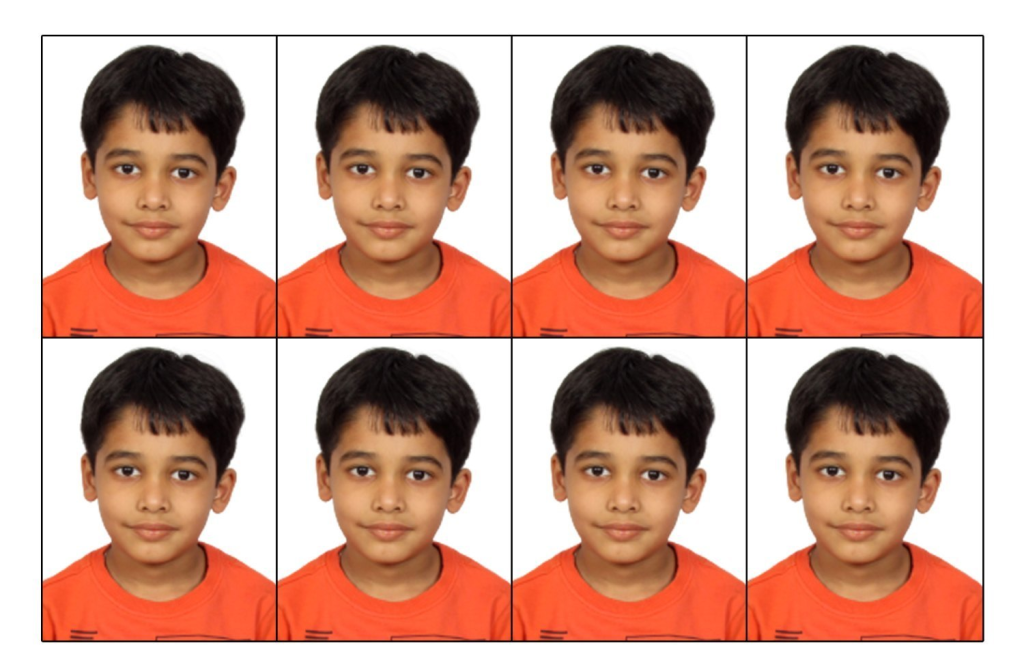
A passport size photo serves essential purposes, primarily for identification on official documents such as passports, IDs, and visas. Its standardized dimensions ensure consistency, aiding recognition and verification. Passport size photos streamline bureaucratic processes, making it convenient for authorities to match the image with the individual. Additionally, these photos are often required for job applications, student IDs, and various official registrations, facilitating smooth and efficient procedures in both personal and professional spheres.
Making a passport-size photo in Photoshop is a fairly straightforward process. Here’s a step-by-step guide:
1. Open your photo in Photoshop:
- Launch Photoshop and open the image you want to use for your passport photo.
2. Crop the image to passport size:

- The standard passport photo size is 2 inches x 2 inches (51 mm x 51 mm). You can use the Crop tool in Photoshop to resize your image to these dimensions.
- Go to Image > Crop.
- In the Crop tool options bar, set the Width and Height to 2 inches or 51 mm.
- Use the handles or drag the crop area to position your face in the center of the frame.
- Make sure your head and shoulders are fully visible within the crop area and there’s some space around your head.
- Click the Crop button.
3. Adjust the colors and lighting (optional):
- If your photo needs any improvements in terms of color or lighting, you can use Photoshop’s tools to adjust them.
- You can use tools like Levels, Curves, and Hue/Saturation to adjust brightness, contrast, colors, etc.
- Ensure your photo has a neutral background and your skin tones appear natural.
4. Resize the image to the required resolution:
- Passport photos also have specific resolution requirements. Typically, it’s 300 dpi (dots per inch).
- Go to Image > Image Size.
- Set the Resolution to 300 dpi.
- Make sure the Width and Height values automatically adjust to maintain the correct aspect ratio.
- Click OK.
5. Save the final image:
- Go to File > Save As.
- Choose a suitable format like JPEG or PNG.
- Name your file accordingly (e.g., “passport_photo.jpg”).
- Click Save.
Important Tips:
- Ensure your background is plain white or light blue.
- Wear plain clothing with minimal patterns or distractions.
- Maintain a neutral facial expression with your eyes open and mouth closed.
- Check with your specific requirements (e.g., some countries may have additional specifications like head size or ear visibility).
Always keep in mind, it’s crucial to follow your country’s specific passport photo guidelines to ensure your photo gets accepted. You can find these guidelines on your government’s official website or consult a professional photographer specializing in passport photos.
How to make passport size photo – passport size photo kaise banaye | Photoshop Tutorial Part-11
Digital Marketing Manager at Cotocus
kashmir
P
Vedant
This article explains how to make a passport size photo in Photoshop in a clear and easy way. I liked how the steps are written simply so anyone can follow them without trouble. The tips about size and format were very useful. It helped me learn how to adjust and save my photo the right way. Now I feel more confident doing this task.