In today’s digital age, having a YouTube channel for your business is no longer just an option – it’s a must! With billions of active users, YouTube offers an incredible opportunity to showcase your products, services, and brand story. But how do you go about setting up a YouTube channel for your business? It may seem overwhelming, but don’t worry! In this guide, we’ll walk you through each step of the process, so you can launch your business’s YouTube presence with confidence.
Step 1: Create a Google Account
To get started with YouTube, you need a Google account. If you already have one, you’re all set to move on. But if not, creating one is quick and easy:-
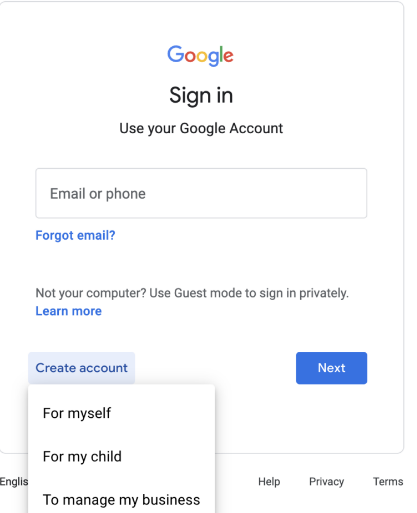
a. Head over to Google and create a new account.
b. Follow the instructions, fill in your information, and you’re good to go!
This Google account will give you access to YouTube, and from there, you’ll be ready to create a dedicated channel for your business.
Step 2: Set Up a YouTube Brand Account
Now that you have a Google account, it’s time to create a brand account for your business. This step is crucial because a brand account allows you to use your business name, and multiple team members can manage it.
a. Log into YouTube with your Google account.

b. Click your profile icon in the top right corner and select “Create a channel”.
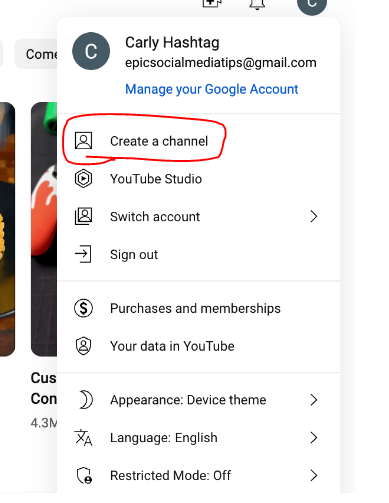
c. Choose “Use a business or other name”, then enter your business name. This will be your YouTube channel’s name.
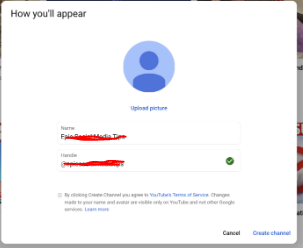
With just a few clicks, your business now has its own YouTube channel!
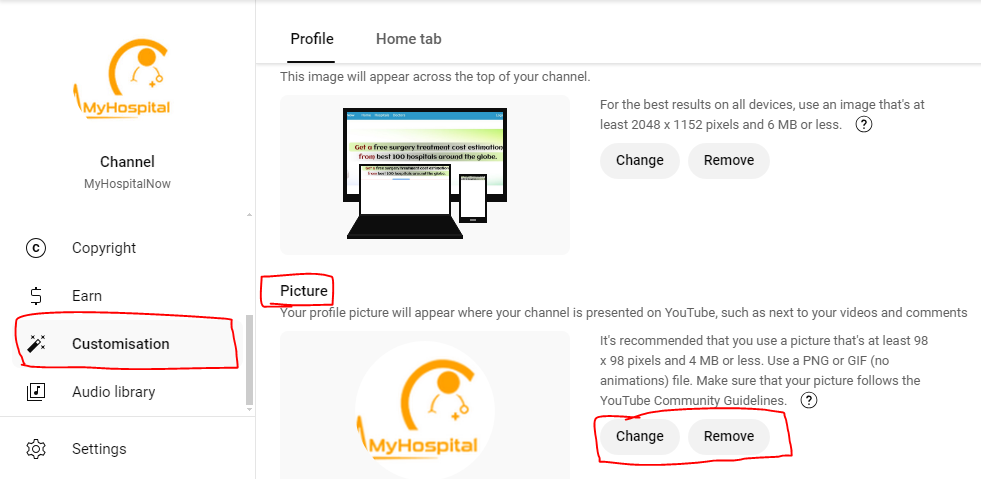
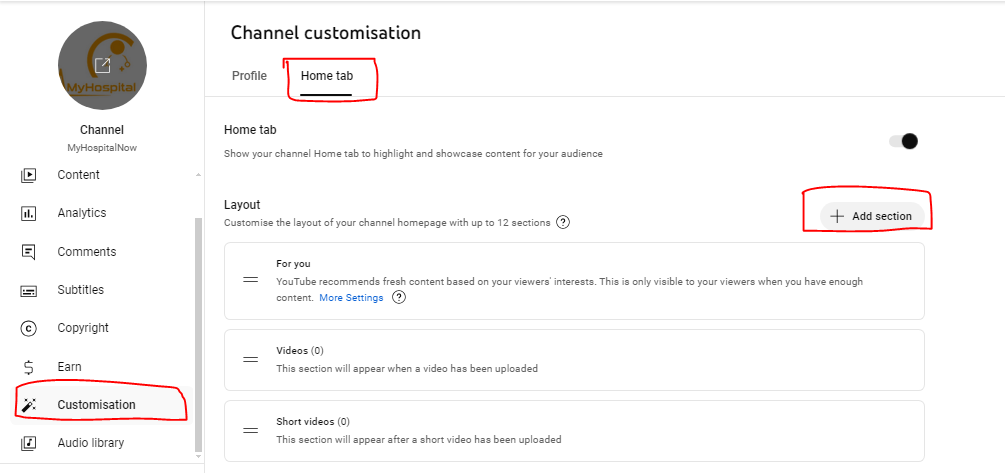
Step 3: Customize Your Channel
Your channel is live, but to make it stand out, you’ll need to customize it. First impressions matter, so be sure to give your YouTube channel a professional and branded look.
a. Profile Picture: Use your business logo or something that visually represents your brand. This should be the first thing people notice, so make it count!
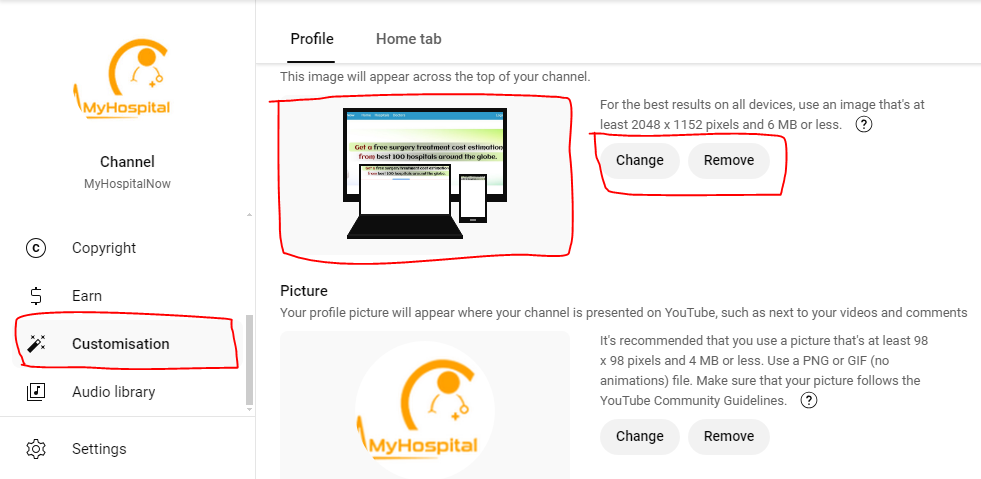
b. Channel Art (Banner): This image sits across the top of your channel. Make sure it looks sleek and reflects your business. You can use tools like Canva to create a professional-looking banner.
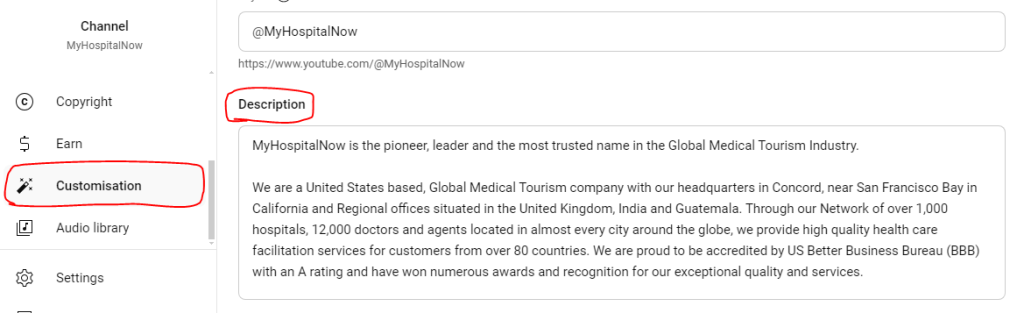
c. Channel Description: Write a short and compelling description of what your business does and what kind of content people can expect from your channel.
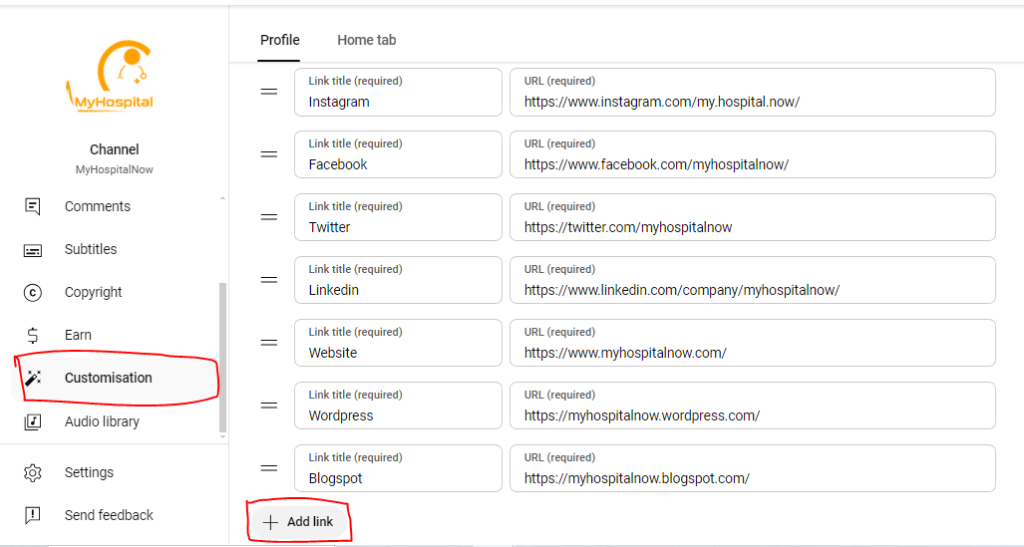
d. Links: Add clickable links to your website, social media profiles, or any other platforms you use. These will appear on your banner for easy access.
Step 4: Upload a Channel Trailer
A channel trailer is like an elevator pitch for your YouTube channel. It auto-plays when visitors land on your page, and it’s a great way to introduce your business and hook potential subscribers.
Make sure your trailer is short (about 30-60 seconds) and explains who you are, what your business offers, and why people should subscribe to your channel.
Step 5: Organize Your Content
As you start adding videos, it’s important to keep your channel well-organized. One way to do this is by creating playlists. Grouping similar videos together makes it easier for viewers to navigate your channel and find what they’re looking for.
For example, you can create playlists for different product categories, tutorials, or customer testimonials. Organizing your content in this way keeps your channel clean and encourages viewers to stay longer.
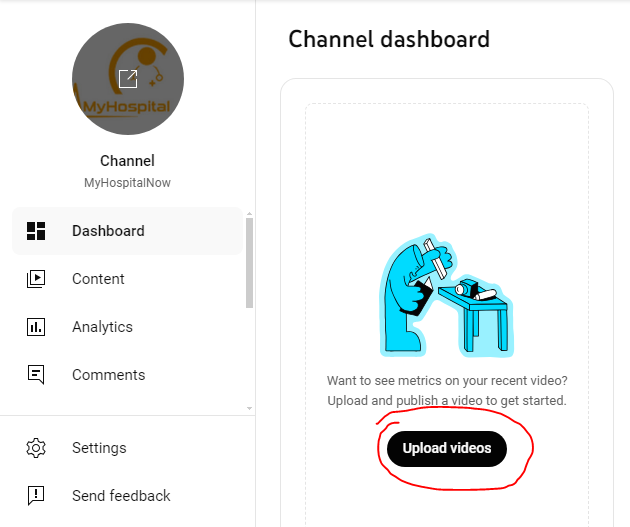
Step 6: Upload Your First Video
The moment has arrived – it’s time to upload your first video!
a. Click the camera icon in the top right corner and select “Upload Video”.

b. Give your video a clear and catchy title and description. Be sure to include relevant keywords to help your video rank higher in search results.
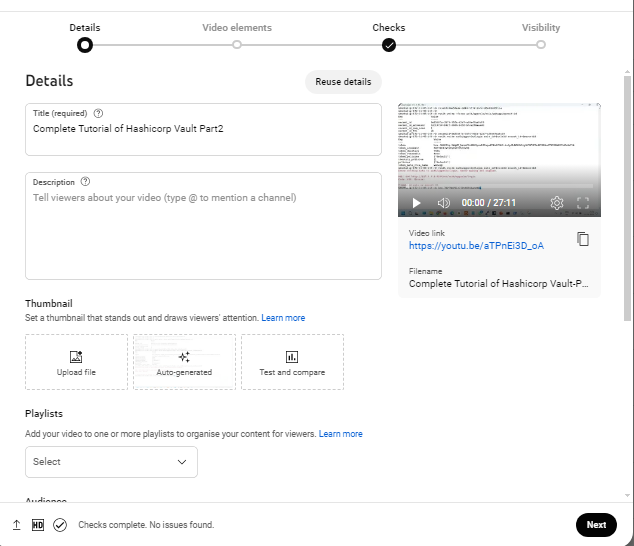
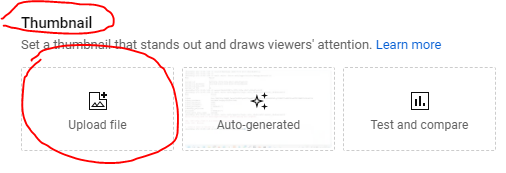
c. Upload a custom thumbnail: A good thumbnail can significantly increase clicks. It should be eye-catching and relevant to the video.
d. Finally, add tags related to your video to help YouTube understand what your content is about and show it to the right audience.
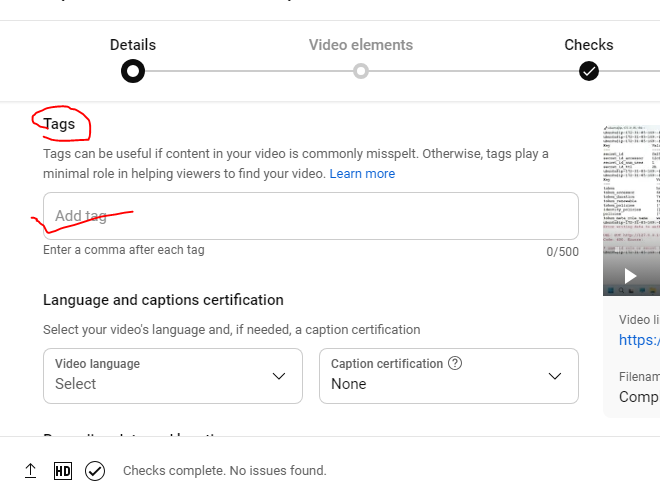
Step 7: Optimize for YouTube Search (SEO)
Like any other search engine, YouTube uses algorithms to suggest videos to users. To make sure your videos show up in search results, you need to optimize them for SEO.
a. Use relevant keywords in your title, description, and tags.
b. Add closed captions to your videos to boost accessibility and search rankings.
c. Create engaging thumbnails and use hashtags in your description to increase discoverability.
Step 8: Promote Your Channel
Now that your channel and videos are ready, it’s time to spread the word!
a. Share your videos on your social media platforms, website, and newsletters.
b. Collaborate with influencers or other businesses to reach a wider audience.
c. Engage with your viewers by responding to comments, and encourage them to subscribe to your channel.
d. You can also embed your YouTube videos on your blog or website to drive more views from different sources.
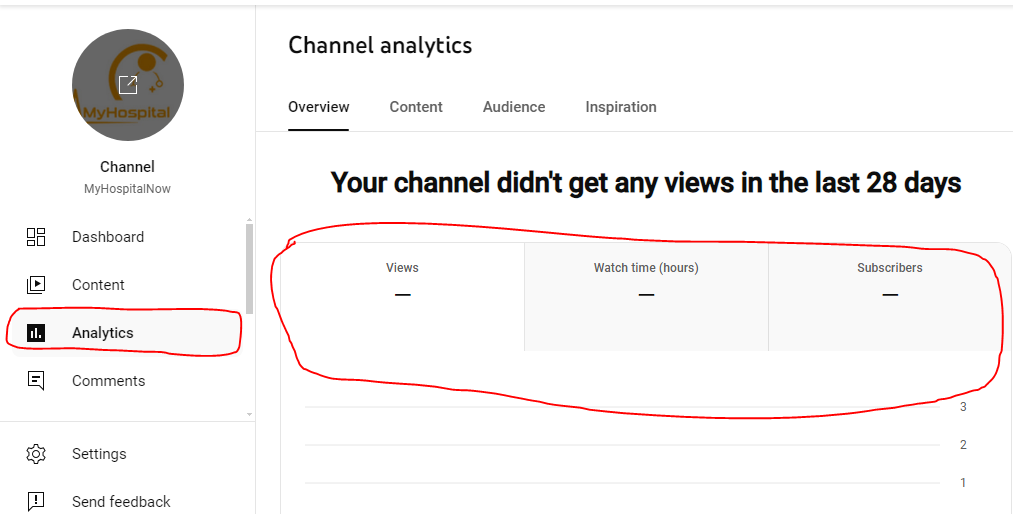
Step 9: Monitor Analytics
Tracking how your videos perform is crucial for growing your channel. YouTube provides analytics that show metrics like views, watch time, and audience retention.
You can find these stats in the YouTube Studio under “Analytics”. Use these insights to understand what content resonates with your audience and adjust your strategy accordingly.
Step 10: Monetize Your Channel (Optional)
Once your channel grows and meets YouTube’s eligibility criteria (at least 1,000 subscribers and 4,000 watch hours), you can apply for monetization through the YouTube Partner Program.
Monetizing your channel allows you to earn money through ads, channel memberships, and other features, turning your YouTube presence into a revenue-generating platform.
My 10-Year Experience with YouTube for Business
Hi, My Name is Ravi and Over the past five years, I’ve had the privilege of using YouTube as a central platform for growing my business, and let me tell you – the impact has been incredible. When I first started, I had no idea how much of a difference video content could make. Here are a few things I’ve learned along the way that might help you as you get started:-
Consistency is Key: In the early days, I uploaded videos sporadically and didn’t see much growth. Once I committed to a consistent schedule – say one or two videos per week – I noticed a steady increase in subscribers and engagement. YouTube rewards channels that post regularly, so set a schedule and stick to it.
Engage with Your Audience: Don’t just post content and disappear. One thing I learned early on was that replying to comments and engaging with viewers really helped build a loyal community. People appreciate that personal connection, and it encourages them to return for more content.
Content Variety Works Wonders: In the beginning, I focused heavily on one type of content – product tutorials. While this was great for showcasing expertise, I eventually realized that mixing things up with behind-the-scenes videos, Q&A sessions, and even customer testimonials made the channel feel more dynamic and helped me reach a wider audience.
Thumbnails and Titles Are Critical: I can’t stress this enough – the way you present your videos matters as much as the content itself. After experimenting with different thumbnail designs and video titles, I found that catchy, visually appealing thumbnails and concise, intriguing titles led to higher click-through rates.
Patience Pays Off: Finally, don’t expect overnight success. It took a while for my channel to gain momentum, but the key was persistence. Every video was a learning experience, and over time, I refined my strategy based on what worked and what didn’t.
Today, my YouTube channel is not just a marketing tool; it’s a direct line of communication with my audience, a platform for building trust, and even a source of revenue. The effort I’ve put into the channel has paid off in more ways than one, and I encourage anyone looking to grow their business to give it a shot.
Final Thoughts: Why You Should Set Up a YouTube Channel for Your Business
YouTube is a powerful platform to grow your business, reach new audiences, and showcase your products or services. With a well-configured channel, engaging videos, and a solid promotion strategy, you can build a loyal audience and make your brand stand out.
Thanks,